
Are you thinking of hatching your own chicks this year? Make every egg count with the following steps:
- In a perfect world, set your eggs vertically in the incubator (like they sit in an egg carton) with the blunt end up.
- Maintain steady temperatures throughout the incubation period. Set the thermostat at 99.5 degrees Fahrenheit (37.5 Celsius) for a forced-air model or 102 degrees Fahrenheit (38.9 Celsius) for a still-air model.
- Although instructions that come with your incubator may recommend keeping internal humidity between 40% and 50% during the early incubation period, followers of dry incubation prefer a much lower humidity (between 25% and 35%). Dry incubation has been the most successful for me.
- Monitor egg weight loss and use that data to tweak humidity levels.
- Keep those eggs moving! An automatic egg-turner is best.
- Minimize egg touching and time outside the incubator. While candling can give you some clues about what’s happening inside, the best hatch rates will be achieved by keeping the incubator closed at all times. Don’t mess with your eggs once they’re in place.
- Ensure adequate airflow by keeping the vents wide open. Even in the shell, chicks have to breathe.
- Plan ahead for hot days and power outages. You’ll need a way to keep chicks at the right temperature even if the electricity flickers out.
All the rules change on day 18. Turn off automatic egg turners. Lay eggs flat. Increase the humidity.
- Maintain cleanliness of the incubator and equipment between batches.

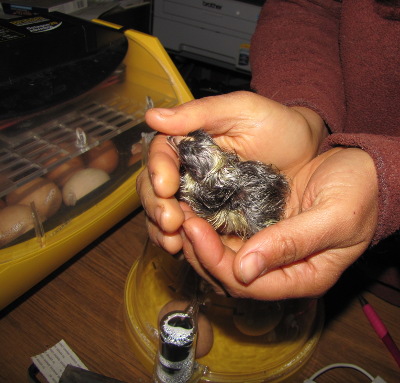
Follow those simple rules and you’ll soon have cute fuzzballs bursting out of your incubator. For more hands-on information, check out my book Incubating and Hatching Homegrown Chicks.